----------------------------------------------------------------------------------------------------------------
In my previous post, we covered Authentication Policy with MFA to provide elevated access for both HTTP and non-HTTP traffic to specific sensitive resources. You can see a diagram of the environment here. In this post, we are going to add pre-logon authentication using machine certificates.
The value of pre-logon authentication means that a device can be connected to a gateway before an actual user logs into the machine, allowing certain internal resources to be accessible or scripts to be run. For more information about pre-logon, click here.
Note - This post assumes the following:
- You have already followed the previous posts in this series.
Part V - Pre-logon Authentication


- Navigate to Device -> Certificate Management -> Certificates -> Generate to create a machine certificate signed by the root CA that was previously created
- Enter a Certificate Name that represents the device
- Enter a Common Name that represents the device
- Select the root CA that was previously created for Signed By
- Click Generate
- Note - It is recommended to use an enterprise CA in a production environment.
- Navigate to Device -> Certificate Management -> Certificates -> Generate to create an authentication cookie certificate signed by the root CA that was previously created
- Enter a Certificate Name that represents the device
- Enter a Common Name that represents the device
- Select the root CA that was previously created for Signed By
- Click Generate
- Navigate to Device -> Certificate Management -> Certificates -> select the newly created machine certificate -> Export Certificate
- Set the File Format to Encrypted Private Key and Certificate PKCS12 and enter a Passphrase twice
- Install the certificate on your test machine
- Navigate to Device -> Certificate Management -> Certificate Profile -> Add to create a new Certificate Profile
- Enter a Name
- Navigate to CA Certificates -> Add to add the root CA that was created previously
- Click OK

- Navigate to Policies -> Security -> Add to create a rule above your existing rules which allows access from devices assigned the Pre-logon user to the minimum internal resources necessary

- Navigate to Network -> GlobalProtect -> Portals -> select the existing portal that was previously created
- Navigate to Agent -> Add
- Enter a Name
- Enable Authentication Override and select the certificate to be used for authentication cookies that was created previously
- Note - Pre-logon will only work if:
- Authentication Override IS enabled and the Certificate Profile created previously IS applied under the Portals -> (your portal) -> Authentication tab
- Authentication Override IS enabled and the Certificate Profile created previously IS NOT applied under the Portals -> (your portal) -> Authentication tab
- Authentication Override IS NOT enabled and the Certificate Profile created previously IS applied under the Portals -> (your portal) -> Authentication tab
- In this use case, we are using option 2, but it's important to note that if the user has not been previously connected then it will fail. As we have an internal gateway configured, this will allow the user to connect or refresh the connection while on the internal network to generate the Pre-logon cookie. See this link for more information.

- Navigate to Internal and enter the same information that exists in your other agent configuration

- Navigate to External and enter the same information that exists in your other agent configuration

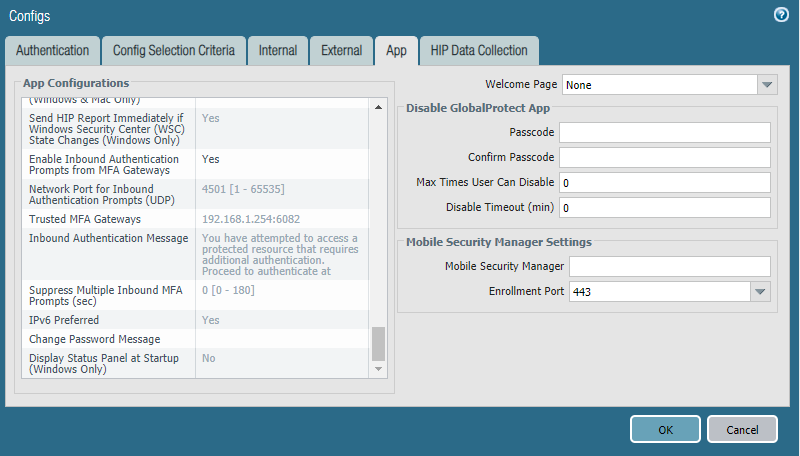
- Navigate to App and set the Connect Method to Pre-logon (Always On)
- Click OK

- Navigate to Network -> GlobalProtect -> Portals -> select the existing portal that was previously created
- Navigate to Agent and select the other Agent that was created prior to beginning the configuration changes in this post (NOT the portal machine config you created above)
- Enable Authentication Override and select the certificate to be used for authentication cookies that was created previously

- Navigate to App and set the Connect Method to Pre-logon (Always On)
- Click OK

- Navigate to Network -> GlobalProtect -> Gateways -> select the external gateway that was previously created
- Navigate to Authentication -> Certificate Profile and the certificate profile that was previously created

- Navigate to Agent -> Client Settings -> select the existing config -> Authentication Override and enable it select the certificate to be used for authentication cookies that was created previously
- Click OK

- Click OK
- Commit the configuration
You should now start seeing entries in the System Logs that show successful authentication events with a user name of Pre-logon (you can filter the logs by (description contains 'pre-logon' )). Based on the configuration changes implemented from this and previous posts, we are now authenticating via machine certificates, user credentials, and Duo.